Embeddable Chat
Integrate the secure chat widget into your website using JWE (JSON Web Encryption) for communication between your website and the chatbot service.
This guide walks you through integrating the chat widget into your website, including security setup and implementation details. The widget uses JWE (JSON Web Encryption) for secure communication between your website and the chatbot service.
Generate Keys — create RSA key pairs for secure communication.
Configure Workspace — set the chat mode, key pairs and allowed hosts in the workspace's embedded chat settings.
Token Generation — implement JWT signing and JWE encryption.
Widget Integration — add the chat widget to your website.
Anonymous & Guest Signup — optionally let visitors chat without a token.
Tool Approval — review which MCP tools run without asking the visitor.
Frontend Tools — optionally expose actions on your page that the assistant can invoke.
Programmatic Control — optionally open, close, resize and reset the chat from your own UI.
Loading Conversations From Your Page — optionally own the chat id, so the history follows your user instead of the browser.
Reacting to the Chat — optionally drive your own UI from the widget's events.
Generate Keys
For secure communication, you'll need to generate RSA key pairs. These keys ensure that all data exchanged between your website and the chatbot remains private and tamper-proof.
Signing keys
Generate and extract a 2048-bit RSA key pair. This key pair is used for signing JWTs and verifying signatures:
# Generate an RSA private key in a file named signing_private_key.pem
$ openssl genrsa -out signing_private_key.pem 2048

# Extract the public key to a file named signing_public_key.pem
$ openssl rsa -in signing_private_key.pem -outform PEM -pubout -out signing_public_key.pem- Private Key: Keep secure, used to sign JWT tokens with your identity
- Public Key: Share with chatbot service to verify that tokens came from your website
Encryption keys
Generate and extract a 2048-bit RSA key pair. This key pair is used for encrypting and decrypting tokens:
# Generate an RSA private key in a file named encryption_private_key.pem
$ openssl genrsa -out encryption_private_key.pem 2048

# Extract the public key to a file named encryption_public_key.pem
$ openssl rsa -in encryption_private_key.pem -outform PEM -pubout -out encryption_public_key.pem- Private Key: Keep secure, used to decrypt the JWE-encrypted tokens
- Public Key: Share with your website so they can encrypt tokens for secure transmission
Configure Workspace
After generating the keys, configure them in the workspace's embedded chat settings. This keeps sensitive keys secure and managed through the admin interface.
In the admin panel, open Workspaces → your workspace → Embedded Chat. The page has a Settings tab and a Script tab on the left, and a live preview of the widget on the right.
Settings tab
- Embeddable chat mode —
Disabled,Enabled, with token(requires a signed JWE token issued by your application),Enabled, with guest signup(visitors sign up with name and email) orEnabled, with anonymous(visitors chat without providing any identity). See Anonymous & Guest Signup. - Embeddable chat privacy policy URL — shown only for guest signup; URL of your privacy policy used in the consent checkbox.
- Embeddable chat encryption private key — private key for decrypting the JWE tokens. Falls back to an environment variable if not set.
- Embeddable chat encryption public key — public key your website uses to encrypt tokens.
- Embeddable chat signing public key — public key for verifying your JWT signatures. Falls back to an environment variable if not set.
- Embeddable chat external widget hosts — comma-separated list of hosts allowed to embed this widget (e.g.
https://example.com,https://app.example.com), or*to allow all. The widget will not load on a host that is not listed. - Embeddable chat token max age (seconds) — maximum age of a token's
iatclaim. Defaults to 600 (10 minutes). - Embeddable chat CSS theme — overrides the organization's CSS theme for this workspace's embedded chat. Leave blank to use the organization theme. Themes can be generated with tweakcn.
Save & Preview stores the settings and reloads the preview.
Script tab
The Script tab builds the <script> snippet for you: pick the locale, display mode, position, sizes, titles and launcher behaviour, and copy the resulting tag. You can also paste a JWT test token here to try the widget in the preview — the test token is only used for the preview and is never saved.
The same options are documented under Widget Integration.
Security Note: Keep your private keys secure and never share them. The public keys should be exchanged between your website and the chatbot service.
Token Generation
Implement secure token generation using JWT signing and JWE encryption. Below is a Ruby example, but you can implement this in any language that supports JWT and JWE.
Technical Specification
Security Algorithms
- Signature: RS256 (asymmetric)
- Key Wrap: RSA-OAEP-256 (recommended) or RSA-OAEP
- Content Encryption: A256GCM — 256-bit AES GCM for authenticated encryption
Required Claims
iat,exp—iatmust not be older than the workspace's Embeddable chat token max age setting (default 600 seconds / 10 minutes), andexpmust be in the future. Together they bound replay attacks.jti— Unique per token for blacklisting/single-use
The
iatwindow is configurable per workspace under Workspaces → your workspace → Embedded Chat → Settings → Embeddable chat token max age (seconds). Increase it only if your token issuer mints long-lived tokens; shorter values reduce the replay window.
Implementation Example (Ruby)
First, install the required gems:
$ bundle add jwt jweclass ChatWidgetTokenGenerator
attr_reader :user, :access_token
def initialize(user, access_token)
@user = user
@access_token = access_token
end
def call
sign_and_encrypt_payload
end
private
def sign_and_encrypt_payload
jws = JWT.encode(payload, signing_private_key, "RS256")
JWE.encrypt(jws, encryption_public_key, alg: "RSA-OAEP-256", enc: "A256GCM")
end
def payload
{
user_id: user.api_id,
access_token:,
iat: Time.current.to_i,
exp: 10.minutes.from_now.to_i,
jti: SecureRandom.uuid
}
end
def signing_private_key
@signing_private_key ||= OpenSSL::PKey.read(File.read("path/to/signing_private_key.pem"))
end
def encryption_public_key
@encryption_public_key ||= OpenSSL::PKey.read(File.read("path/to/encryption_public_key.pem"))
end
endWidget Integration
Next, add the chat widget to your website. The widget script needs to be included with your generated authentication token. The Script tab of the workspace's Embedded Chat page generates this snippet for you, with a live preview.
Adding the Widget
Generate the token:
token = ChatWidgetTokenGenerator.new(current_user).callAdd the widget script to your website under body:
<body>
  ...
  <script
    src="https://ai-platform.mitigate.dev/api/v1/workspaces/<YOUR_WORKSPACE_ID>/embedded_chat.js"
    data-token="<%= token %>"
    data-locale="lv"
    data-position-bottom-px="50"
    data-position-right-px="20">
  </script>
</body>
Parameters:
data-token: The JWT token generated for the userdata-locale: The locale for the chat widget (e.g.,"lv"for Latvian). Available locales:en, lv, et.data-display-mode: Display mode for the chat widget. Usemodal(default) for a floating button that expands to a modal, orfullscreenfor a full viewport chat interface without the floating button.data-position-bottom-px: Distance from the bottom of the pagedata-position-right-px: Distance from the right side of the pagedata-hide-launcher: When set to"true", hides the default floating launcher button. Use this when you want to open and close the chat from your own UI (see Programmatic Control). Only applies tomodaldisplay mode.data-chat-id-source: Who owns the chat id. With the default"widget"the widget keeps it in its own cookie, so a visitor returning to your page continues where they left off. With"host"your page owns it instead: no cookie is used, the widget starts blank and loads the conversation you ask for withloadChat(chatId). Use it when the chat history has to follow your logged in user rather than the browser.data-container-id: Id of an element on your page to mount the chat into. By default the script appends its own fixed-position container to<body>and places it usingdata-position-bottom-px/data-position-right-px; with this attribute your element is used instead and you position it yourself with CSS.data-compact-width: Width of the open chat window in its default (compact) size. Accepts any CSS length (e.g.400px,90vw). Falls back tomin(560px, calc(100vw - 2 × data-position-right-px)).data-compact-height: Height of the open chat window in its default (compact) size. Same format and fallback rules asdata-compact-width(defaultmin(780px, calc(100dvh - 2 × data-position-bottom-px))).data-expanded-width: Width of the chat when the user clicks the expand icon inside the open chat. Accepts any CSS length (e.g.90vw,800px). Optional — overrides the per-workspace default configured in the workspace's embedded chat settings. Falls back tomin(1020px, calc(100vw - 2 × data-position-right-px))if neither is set.data-expanded-height: Height of the chat when the user clicks the expand icon. Same format and fallback rules asdata-expanded-width(defaultcalc(100dvh - 2 × data-position-bottom-px)).data-header-title: Title shown in the chat header. Also displays the assistant avatar next to it, if one is configured for the workspace. Hidden entirely if not set.data-welcome-title: Title shown above the welcome message before the conversation starts. Falls back to the default greeting ("How can I help you?") if not set.data-welcome-description: Description shown below the welcome title before the conversation starts. Left blank if not set. Takes inline Markdown:http(s)://andwww.addresses become links, as do[text](url)links, and**bold**/*italic*work. Links behave like links in the assistant's replies: a new tab by default, or your page when you handle links. Anything else, including HTML, is shown as plain text.
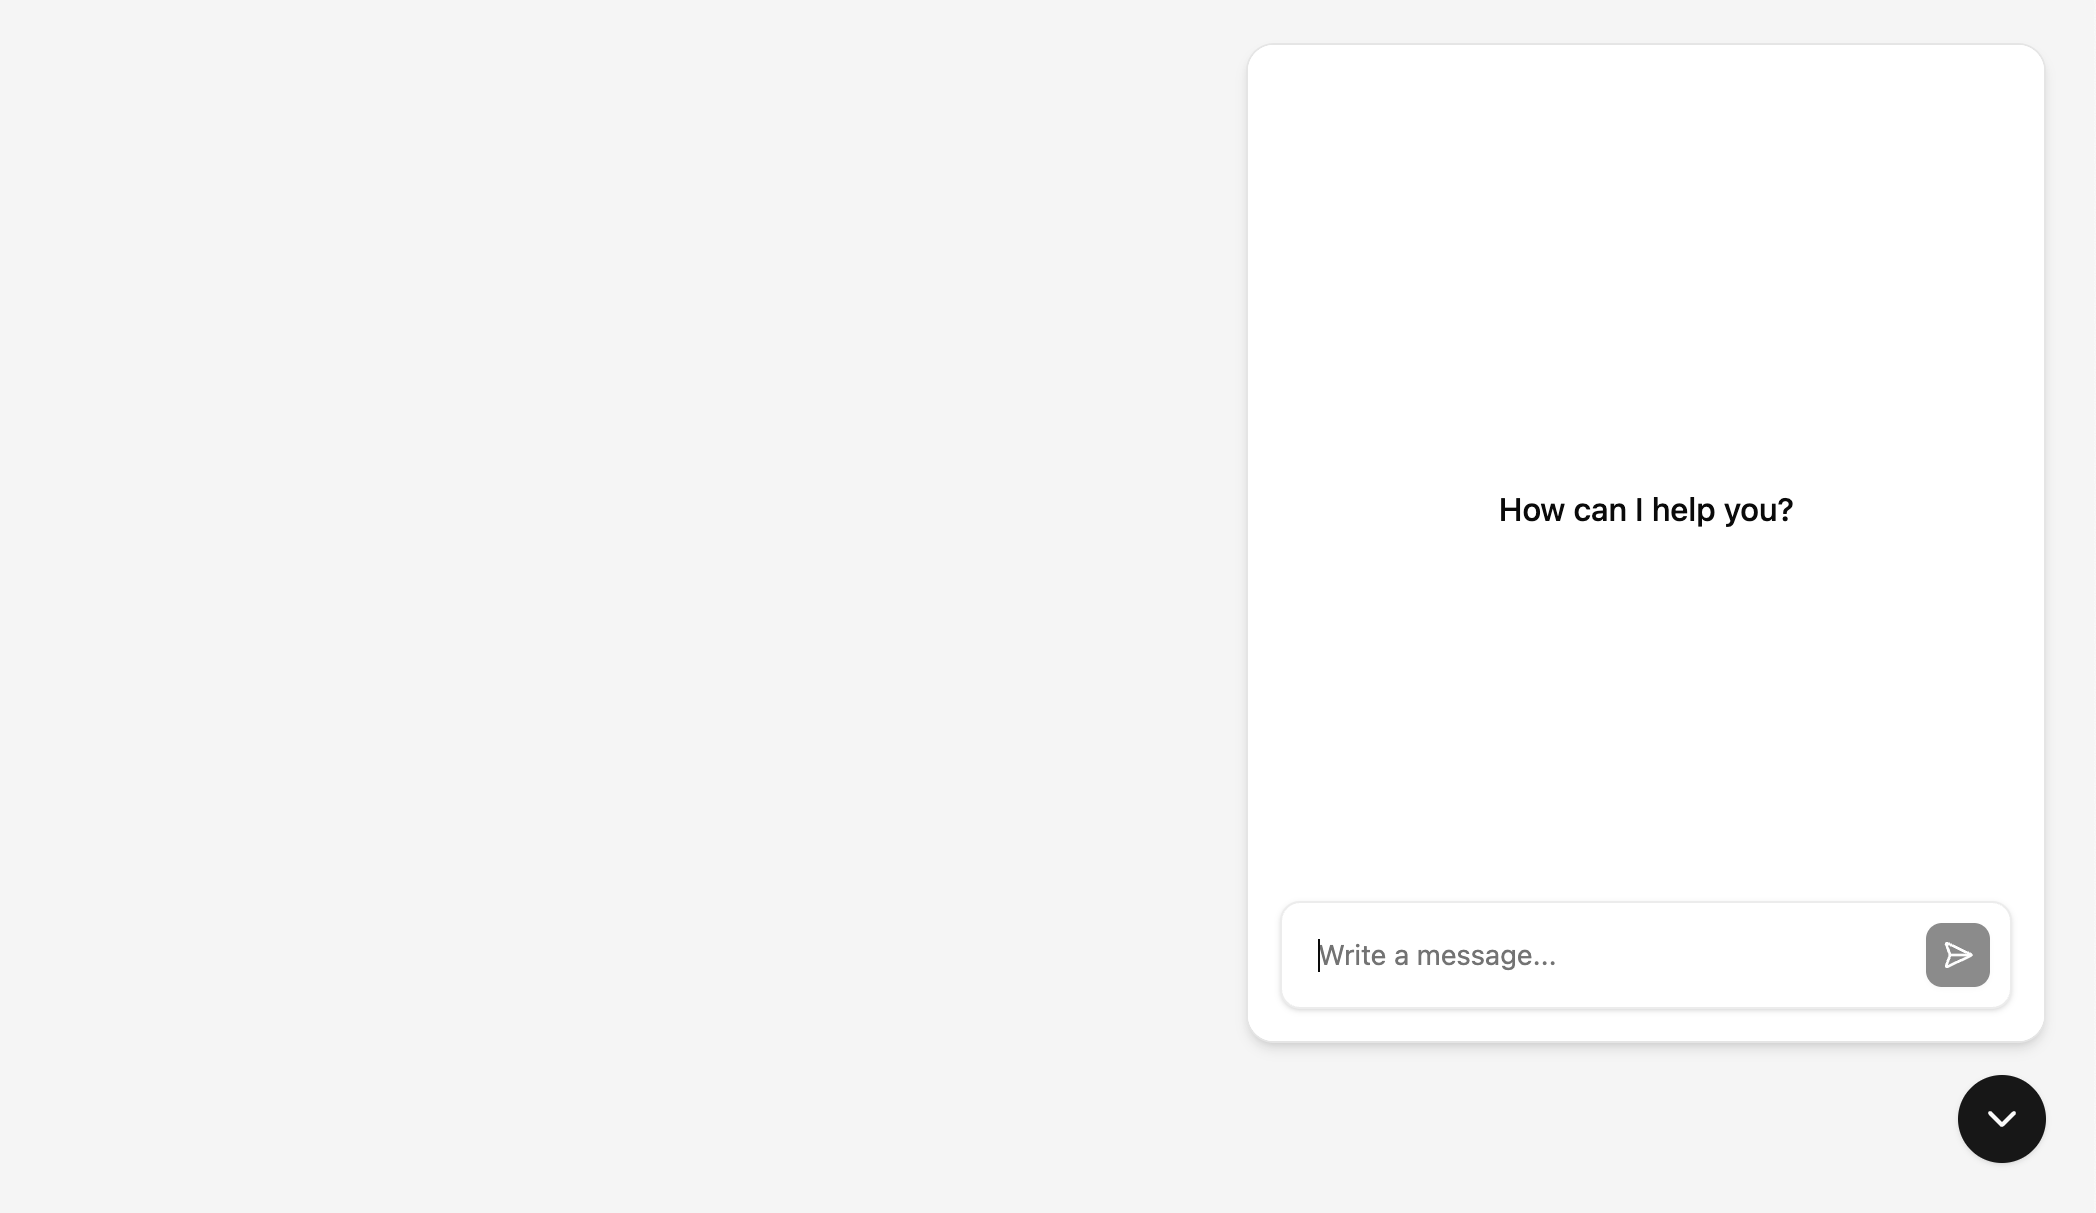
Once the script is added, a floating button will appear on your page:

Clicking it opens the chat interface:
While the chat window is open, pressing Esc closes it again — also when the focus is on your page rather than in the chat. The conversation is kept, so reopening the window continues where it left off. While the window is closed the widget does not listen for it, leaving Esc to your page's own dialogs.
Anonymous & Guest Signup
When Embeddable chat mode is set to guest signup or anonymous, users can access the chat widget without authentication tokens.
Overview
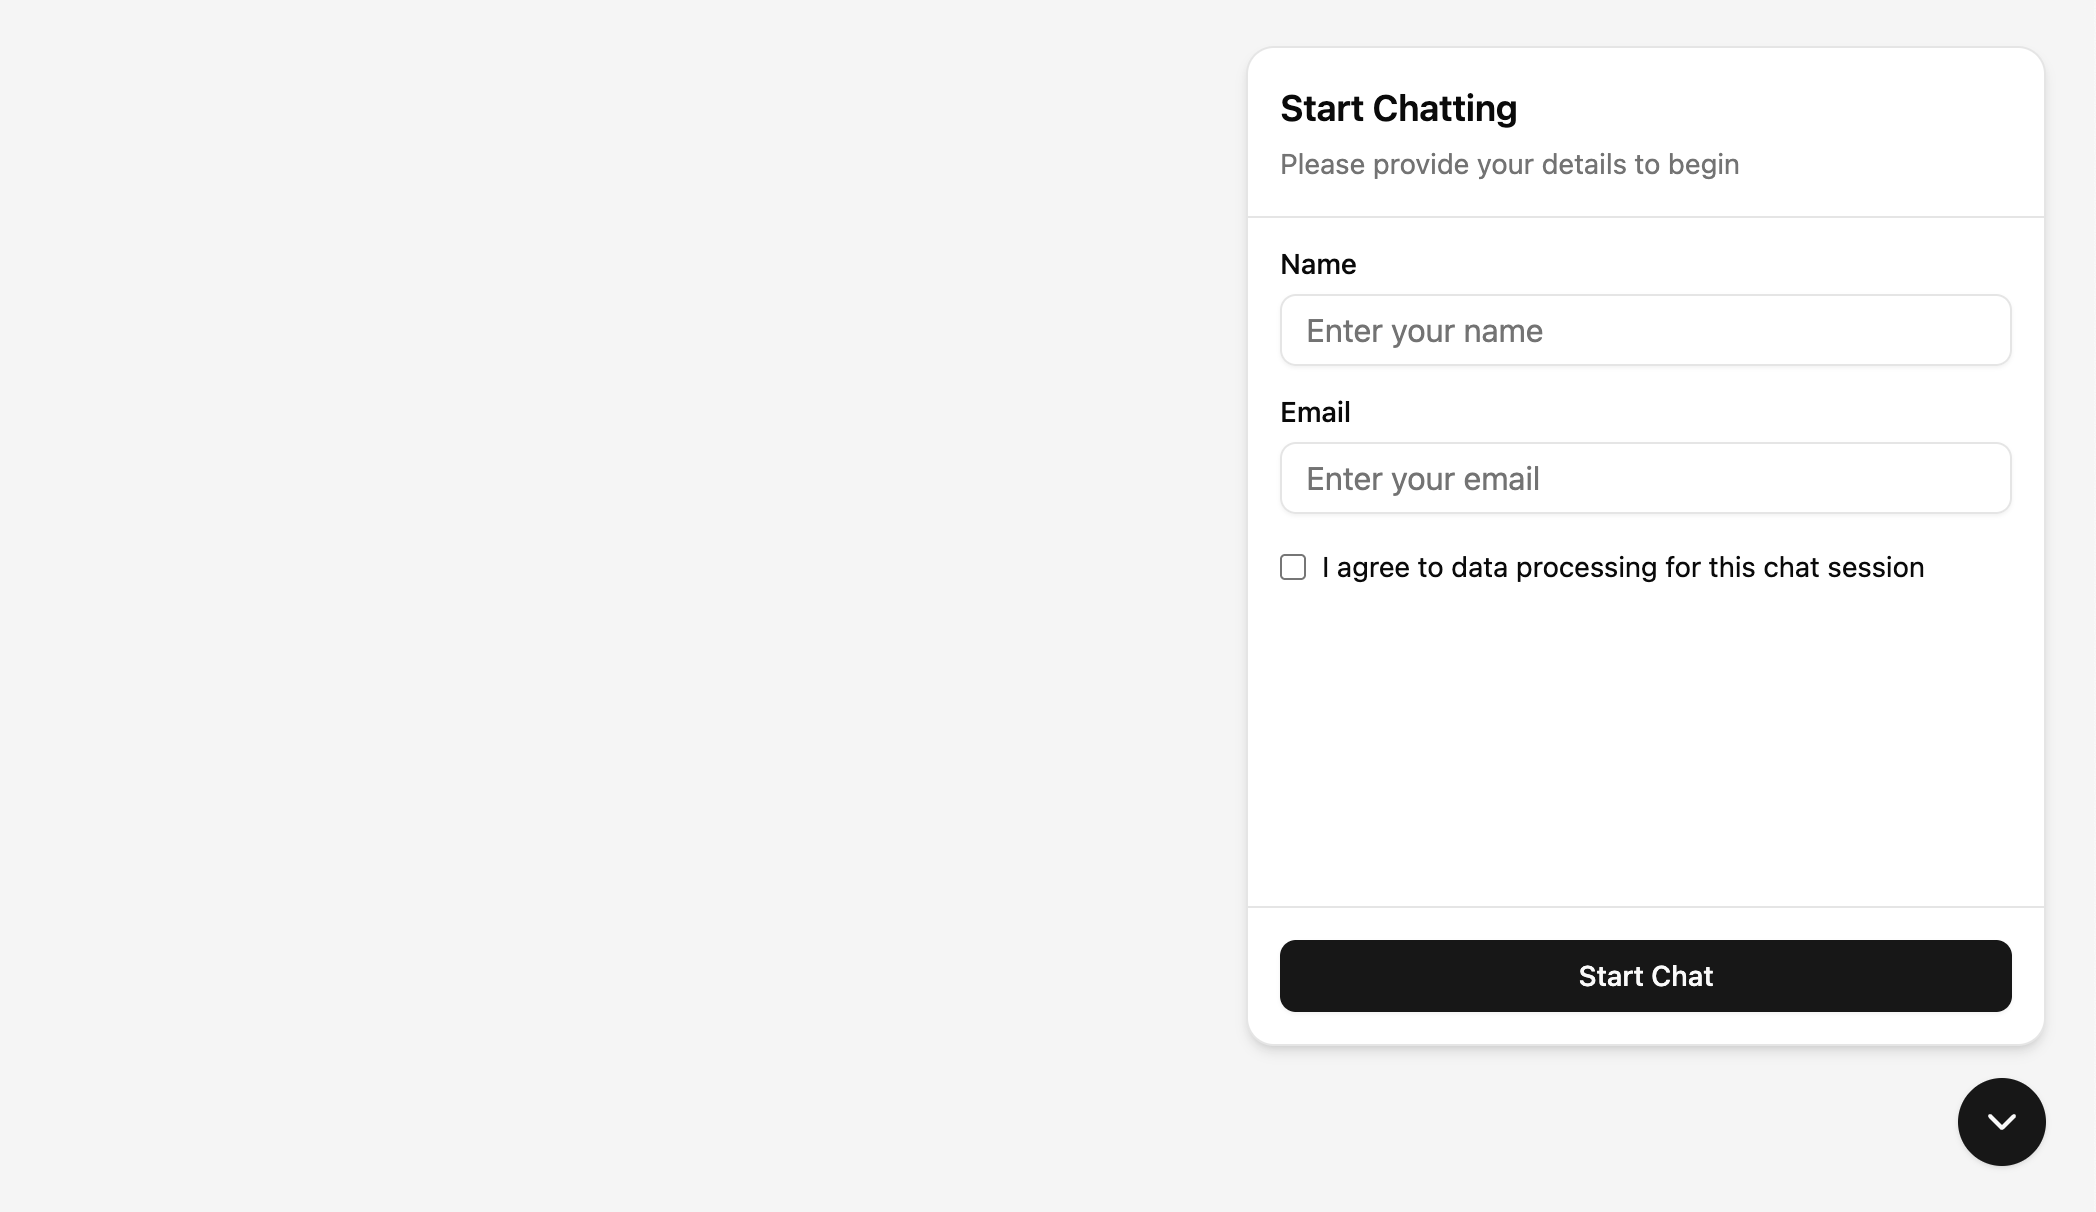
These modes allow visitors to your website to use the chat widget immediately, without requiring account creation or token generation. With guest signup, users will be prompted for their name, email, and consent. With anonymous mode, users can chat without providing any personal information.
Embedding Without Token
When Embeddable chat mode is set to guest signup or anonymous, simply omit the data-token parameter from the widget script. With guest signup, users will see a signup form when they first open the chat widget. With anonymous mode, they can start chatting immediately:
<body>
  ...
  <script
    src="https://ai-platform.mitigate.dev/api/v1/workspaces/<YOUR_WORKSPACE_ID>/embedded_chat.js"
    data-locale="lv"
    data-position-bottom-px="50"
    data-position-right-px="20">
  </script>
</body>
With guest signup enabled, users will see a signup form when they first open the chat widget:
Privacy Policy
When guest signup is enabled, you can configure the Embeddable chat privacy policy URL in the workspace's embedded chat settings. If set, the signup form displays a consent checkbox with a link to your privacy policy that users must accept before chatting. If no URL is configured, a generic consent message is shown instead.
Tool Approval
By default every MCP tool call asks the user to approve it before it runs. In the AI Platform UI that consent has two layers: an admin marks a tool Allow Auto Approve, and each user then opts in per workspace.
Embedded chats have no AI Platform user assigned, so there is no per-user preference to consult. As a result, in embedded chat every tool marked Allow Auto Approve runs without prompting the visitor. Tools without that flag still show the approval prompt in the widget.
When enabling Allow Auto Approve on a connector that embedded chat uses, read it as "safe to run unattended for anonymous website visitors". Keep it off for anything destructive, expensive, or that acts on data the visitor should not be able to reach with a JWT Passthrough token.
Tool settings live under Admin → Tools. See Tool Approval for the full model.
Frontend Tools
Frontend tools let you register custom actions on your website that the chat assistant can invoke during a conversation. For example, the assistant can add items to a shopping cart, navigate to a page, or trigger any JavaScript logic you define.
Each tool is registered on the host page with a schema (sent to the LLM so it knows when and how to call the tool) and a callback (executed on your website when the tool is called).
Registering a Tool
Use window.MitigateEmbeddedChat.registerTool() after the widget script has loaded:
<script>
  window.MitigateEmbeddedChat.registerTool(
    {
      name: "addToCart",
      description: "Add a product to the shopping cart",
      parameters: {
        type: "object",
        properties: {
          sku: { type: "string", description: "Product SKU" },
          quantity: { type: "integer", minimum: 1, description: "Quantity" }
        },
        required: ["sku", "quantity"]
      }
    },
    async function(args) {
      // Your logic here — runs on the host page
      await yourCartAPI.addItem(args.sku, args.quantity);
      return { added: true, sku: args.sku, quantity: args.quantity };
    }
  );
</script>
The callback receives the arguments from the LLM and should return a result object. The result is sent back to the assistant so it can confirm the action to the user.
Note: Tools run entirely on the host page, not inside the chat widget. You can register tools at any time — the widget picks them up automatically.
Sending the Result Early with addResult
Returning a value only sends the result once your callback has finished. If the callback navigates away from the page, the result never reaches the assistant and the conversation gets stuck.
Every callback also receives addResult as its second argument. It sends the result immediately and resolves once the widget has forwarded it, so you can safely navigate afterwards:
window.MitigateEmbeddedChat.registerTool(
  {
    name: "navigate",
    description: "Navigate the user to a page",
    parameters: {
      type: "object",
      properties: { url: { type: "string", description: "Target URL" } },
      required: ["url"]
    }
  },
  async function(args, addResult) {
    await addResult({ navigated: true, url: args.url });
    window.location = args.url;
  }
);
addResult may be called only once per invocation. Calling it again returns a rejected promise, and a value returned after calling it is ignored. Callbacks that ignore addResult keep working exactly as before — the returned value is sent when the callback resolves.
While the Tool Runs
The conversation is held open until your callback delivers a result — the assistant is waiting for it before it can continue. Send is replaced by a Stop button, so the visitor can keep typing their next message but cannot send it, and can abandon the call and end the turn at any point by pressing Stop.
There is no deadline: a callback may take as long as it needs, and the turn resumes the moment the result arrives. Use addResult to send what you have as soon as you have it if the callback does more work afterwards, and prefer it over waiting on something open-ended (a user filling in a form, a slow third-party request) inside the callback, since nothing else in the conversation can move until the call is answered.
Only the page that received the call can answer it, so a reload or a navigation ends it: the callback is gone with the page, and it is not run again. The call is recorded as timed out as soon as the visitor lands back in the chat — the assistant resumes without it rather than staying stuck — or on their next message if they do not return until later. A result arriving after that point is ignored.
For a complete working example with product cards, cart management, and multiple tools, see the TechStore showcase.
Programmatic Control
You can open, close, resize and reset the chat window from your own code — handy when the default floating launcher overlaps your UI and you want to trigger the chat from a button in your navigation or sidebar instead. The preview on the workspace's Embedded Chat page has buttons for each of these methods, so you can try them before wiring up your own UI.
API
After the widget script has loaded, these methods are available on window.MitigateEmbeddedChat:
open()— opens the chat window.close()— closes the chat window.toggle()— opens the chat if closed, closes it if open.resize(size)— switches an open chat window between"compact"(thedata-compact-width/data-compact-heightsize) and"expanded"(thedata-expanded-width/data-expanded-heightsize), the same thing the expand icon in the chat header does.reset()— starts a new conversation, the same thing "Reset chat" in the chat menu does. The current thread is cleared; a signed up guest stays signed in.onNavigate(callback)— takes over links clicked in the conversation; see Handling Links. Passnullto unregister.loadChat(chatId)— loads the conversation with that id, or starts a new one under that id if it doesn't exist yet. The id must be a UUID v4; anything else throws. Only fordata-chat-id-source="host"(see Loading Conversations From Your Page).
open(), close(), toggle() and resize() only have effect in modal display mode. reset() and loadChat() work in both display modes.
Every method returns a promise that resolves once the chat has received the call, so calling one while the widget is still loading is safe — the call is queued and delivered, in order, as soon as the widget is ready. await it only if your code depends on the chat having got it.
Hiding the Default Launcher
Pair the API with data-hide-launcher="true" to suppress the built-in floating button, then drive open/close from your own element:
<body>
  ...
  <button type="button" onclick="window.MitigateEmbeddedChat?.toggle()">
    Chat with us
  </button>

  <script
    src="https://ai-platform.mitigate.dev/api/v1/workspaces/<YOUR_WORKSPACE_ID>/embedded_chat.js"
    data-token="<%= token %>"
    data-hide-launcher="true">
  </script>
</body>
When the launcher is hidden, the widget occupies no screen space until you call open() or toggle(); pointer events pass through to your page as normal.
Loading Conversations From Your Page
By default the widget remembers the current conversation in a cookie, which belongs to the browser — not to the user signed in on your page. If your users share a device, or you want the chat history to follow them elsewhere, set data-chat-id-source="host" and keep the chat id yourself:
<body>
  ...
  <script
    src="https://ai-platform.mitigate.dev/api/v1/workspaces/<YOUR_WORKSPACE_ID>/embedded_chat.js"
    data-token="<%= token %>"
    data-chat-id-source="host">
  </script>

  <script>
    // The conversation id your page keeps for the signed in user. The conversation itself is
    // created on the first message, so a freshly generated id is all it takes to start one.
    window.MitigateEmbeddedChat.loadChat("<%= chat_id %>")
  </script>
</body>
Chat ids must be UUID v4 — generate them with SecureRandom.uuid in Ruby, crypto.randomUUID() in the browser, or your database's gen_random_uuid(). loadChat() throws on anything else, and the id is what identifies the conversation, so it must stay unguessable (never a sequential id or something derived from the user's email).
In this mode:
- No chat id cookie is set, and the widget shows an empty chat until you call
loadChat(). - The built-in "Reset chat" menu is hidden. Starting a new conversation is
loadChat()with a newly generated id. - Switching users is
loadChat()with that user's conversation id — issue a newdata-tokenfor them as usual. - A conversation that belongs to a signed up guest is only loaded for that guest; anything else is refused.
loadChat() can be called straight after the widget script, as in the example above; the widget does not have to be ready yet.
Handling Links
Links in the assistant's replies — in the answer text, in OpenUI components, and on citation sources — open in a new tab. Register a callback with onNavigate() to take them over instead, so a link to your own site can open in the page the visitor is already on:
<script>
  window.MitigateEmbeddedChat.onNavigate((link) => {
    const url = new URL(link.url, window.location.href)

    if (url.origin !== window.location.origin) return false

    router.push(url.pathname + url.search) // your SPA router, or: window.location.href = url
    window.MitigateEmbeddedChat.close()
    return true
  })
</script>
The callback gets { url } — the link exactly as the assistant wrote it, so a relative link like /products/usb-c-hub arrives relative and resolves against your page rather than the widget's. It decides everything: whether the link is one of yours, whether to do a full page load or hand it to a client-side router, and whether the chat should minimize (call close()) or stay open.
Return false for links you don't want, and the widget opens them in a new tab as it would have without a callback. Do this rather than calling window.open() from the callback yourself: the click happened inside the chat frame, and browsers don't carry that click through to your page, so a window.open() in the callback is usually stopped by the popup blocker. Any other return value — including no return at all — means you handled it. The callback may be asynchronous, but it has five seconds to settle; after that the widget treats it as false and opens the link in a new tab. Answer promptly even when declining — a callback that hangs for the full five seconds may find the browser has already closed the activation window that lets that tab open at all.
Without an onNavigate() callback nothing changes: every link keeps opening in a new tab. Call onNavigate(null) to unregister and go back to that.
The chat keeps its conversation across a full page load, so a link that reloads your page comes back to the same thread — minimized or open, whichever you left it in.
Reacting to the Chat
The widget posts messages to your page, so it can drive your own UI — dim the page behind the chat, highlight a button while a conversation is open, or resize the window based on what the assistant answered.
Events
Listen for message events and check event.data.type:
MODAL_OPEN— the chat window opened.MODAL_CLOSE— the chat window closed.MODAL_RESIZE— the window switched size;event.data.valueis"compact"or"expanded".ASSISTANT_MESSAGE— an assistant reply finished;event.data.valueis{ id, text }, wheretextis the reply as the assistant wrote it — markdown, or OpenUI markup likeroot = Carousel([[slide1], [slide2]])when the workspace renders components.
Always compare event.origin against the origin you load the widget from, and ignore anything else — other scripts on your page post their own messages to the same window.
The chat remembers whether it was open and at which size, so on every page load the widget re-announces its state: MODAL_OPEN or MODAL_CLOSE fires, followed by MODAL_RESIZE when it is open. UI you drive from these events therefore ends up in the right state after a reload without any extra work.
Example: dim the page behind the expanded chat, and expand it for product results
<body>
  ...
  <script src="https://ai-platform.mitigate.dev/api/v1/workspaces/<YOUR_WORKSPACE_ID>/embedded_chat.js"></script>

  <script>
    const CHAT_ORIGIN = "https://ai-platform.mitigate.dev"

    // The widget sits at z-index 10000000, so keep the backdrop just below it.
    const backdrop = document.createElement("div")
    backdrop.style.cssText =
      "position:fixed;inset:0;background:rgb(0 0 0 / 0.5);z-index:9999999;display:none"
    document.body.appendChild(backdrop)

    window.addEventListener("message", (event) => {
      if (event.origin !== CHAT_ORIGIN) return

      // Only the expanded window gets a backdrop.
      if (event.data?.type === "MODAL_RESIZE") {
        backdrop.style.display = event.data.value === "expanded" ? "block" : "none"
      }
      if (event.data?.type === "MODAL_CLOSE") {
        backdrop.style.display = "none"
      }

      // Give product results more room as soon as the assistant returns a carousel.
      if (event.data?.type === "ASSISTANT_MESSAGE" && event.data.value.text.includes("Carousel(")) {
        window.MitigateEmbeddedChat.resize("expanded")
      }
    })
  </script>
</body>